confused by your Digital camera modes?
... move past auto to improve all your photos
Are digital camera modes too confusing? Relax, they're actually simple to understand and super easy to use.
Why use them? Because...
As soon as you take control, your photos will improve 10-fold. Let's start out easy with 3 'semi' auto modes.
Glossary of terms
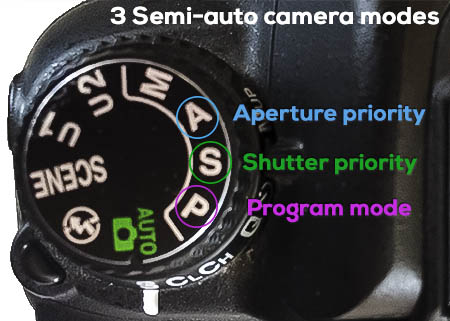
- A or AV: Automatic camera mode that allows the photographer to lock in the desired aperture while the camera chooses the required shutter speed.
- DOF: Depth of field. The distance between the nearest and farthest objects that are acceptably sharp in an image.
- f-stop: Focal-Stop. Measurement of the aperture setting in a
lens. The f-stop determines how much light is allowed to enter the lens
and pass through to the film or the digital sensor.
- ISO: System of measurement used by the International Standards Organization. It quantifies the sensitivity (speed) of a film emulsion or a digital camera's image sensor to light. A normal range is 100 ISO up to 6400 ISO. And, according to Nikon, a possible range up to 204,800.
- Program: Automatic camera mode that allows the photographer to set the desired ISO and will allow setting either aperture or shutter speed.
- S or TV: Automatic camera mode that allows the photographer to lock in the desired shutter speed while the camera chooses the aperture.
I get it, you’re camera’s a pretty smart cookie , so why not let it do your thinking for you?
Well, are you super-happy with your photos? Or, is it more like this?
- The photos you get and the photos you want aren't even close.
- Sometimes, you don't have a clue what your subject was.
- All your photos are a blur.
- Need I say more?
Great news! It's all fixable...
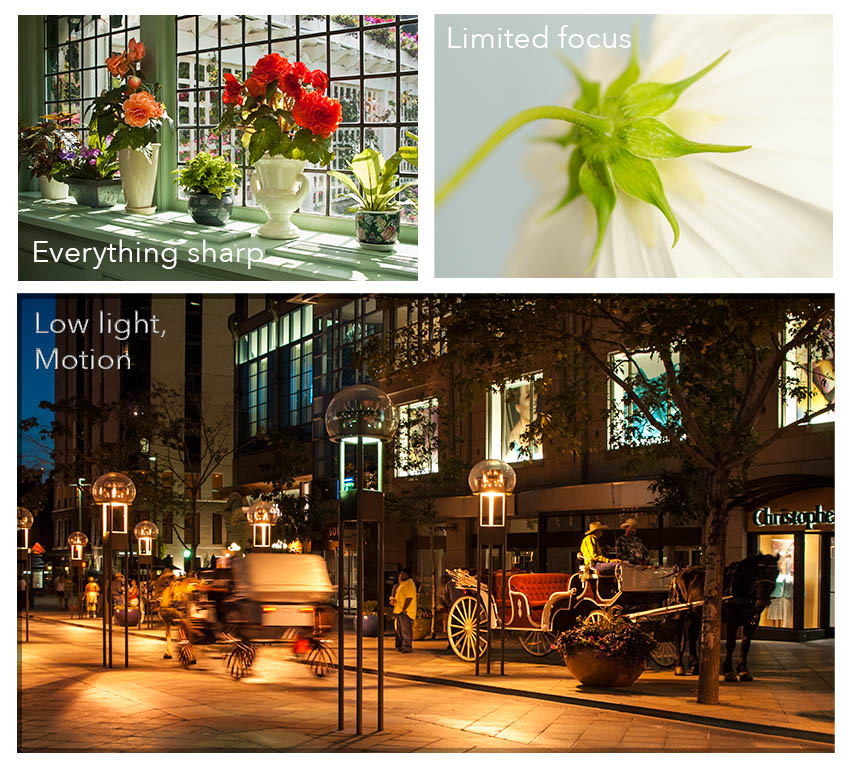
Q. Why should I shift out of Auto? It's so much easier to leave all the thinking to my camera!
A1. In Full Auto you have no control over -
- what your camera chooses to focus on
- your flash
- shutter speed, aperture or ISO - or how your camera exposes the photo
A 2. Let's look at how a human brain works versus how a camera's 'brain', the processor, works.... in simple, non-technical terms :)
- We see the world in 3-dimensions. Even though the camera sees the same scene we do, it translates it onto a 2-dimensional plane. A lot of visual information is lost in translation!
- When we look at our environment, our 5 senses absorb a complicated smorgasbord of information. A human brain is a complex organ... integrating, analyzing, interpreting all our interactions in the world. But, a camera’s processor doesn’t experience emotion or have any feelings about what it sees through the viewfinder. It's neutral... like Switzerland.
I'm sure you can see that having more control over your camera's decisions, using your digital camera modes, will greatly improve your photography.
You don't take a photograph, you make it.
~ Ansel Adams
Take the time to understand exposure
... it makes it so easy to pick the correct camera mode
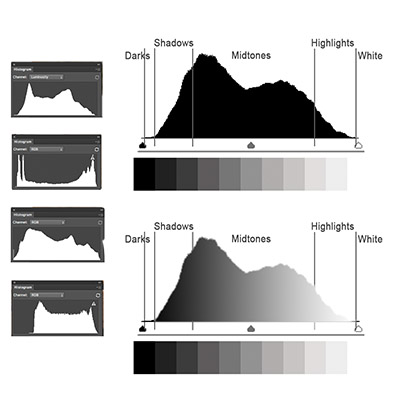 The Histogram The Histogram |
You need to know some basic information about shutter speed and aperture. Then we'll know which digital camera mode to choose for a particular situation.
It's all about exposure
... Understanding the exposure triangle
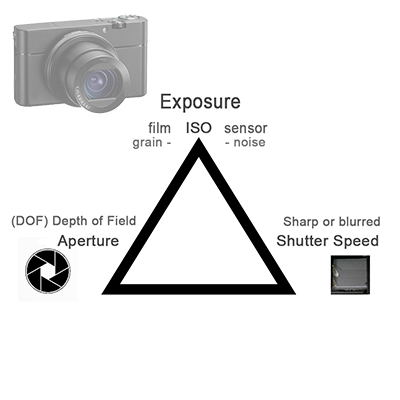
The digital camera modes revolve around the 3 components of the exposure triangle - aperture, shutter speed and ISO. That means, to use the modes effectively, you have to understand how photographic exposure works.
Aperture - Look into your lens and you'll see an opening in it. In Full Auto, the size of the opening will automatically get larger or smaller as the light in the environment changes.
A large aperture lets in more light and decreases DOF, so the background (and foreground) are blurred. A small aperture lets in less light and results in an increased DOF, so foreground, middle ground and background are all sharp.
Quick Quiz - If I say an aperture size
of f 1.4 is larger than f 16, would you believe me? Well, it is .....
because the aperture numbers are actually fractions . :) There's a diagram below to show you. 1/16th is much smaller hole than 1/1.4
Shutter Speed - The shutter is inside the camera, and it controls how long light hits the sensor. A fast shutter speed lets in less light and it freezes motion. A slow shutter speed lets in more light and blurs motion.
Slow shutter speeds need a tripod or other stabilizing method to prevent camera shake.
- Learn more about shutter speed here to gain a better understanding of your digital camera modes
- Watch shutter speed in slow motion by the Slow Mo Guys here.
The same goes for shutter speed... so 8000 is really 1/8000 of a second. The shutter opens and closes much faster than 1/30 of a second.
Note that when you see (")... 1" = 1 second, 8" = 8 seconds.That's a very slow shutter speed.
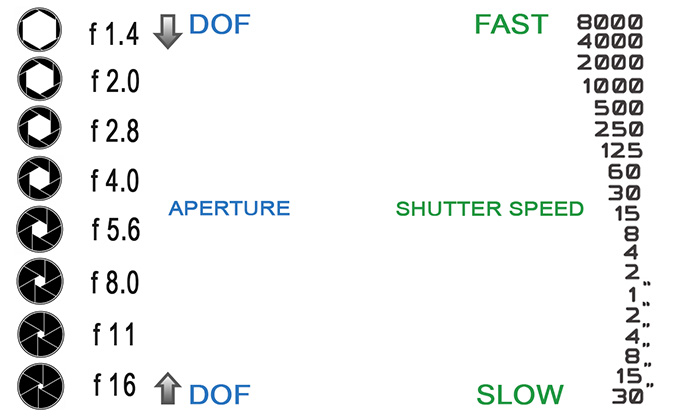
The three digital camera modes we'll look at here let you choose and set the most important exposure element for your photo. Will it be aperture or shutter speed ?
SO, WHICH ONE DO YOU CHOOSE?
Aperture - if your Range of focus is more important
Here are some examples:
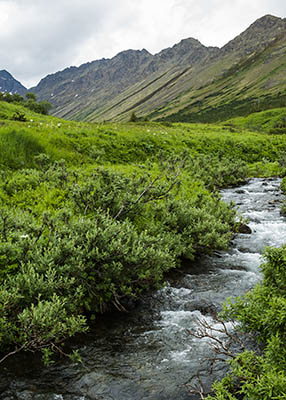
- Landscapes with the entire image in focus
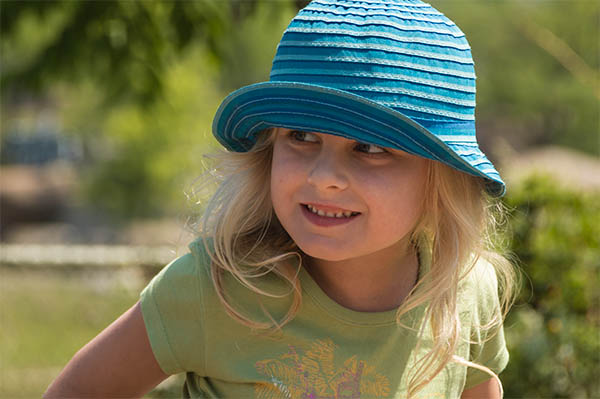
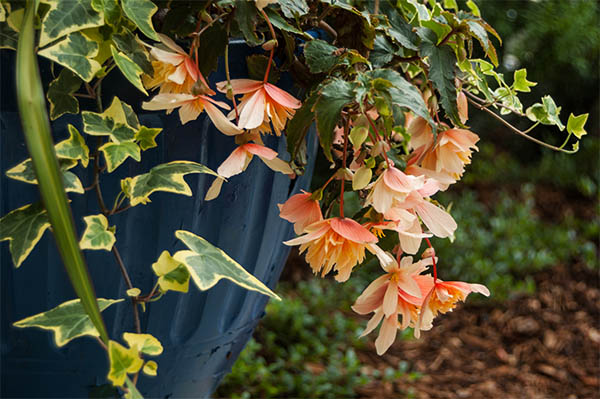
- Portraits of people, plants or animals with only the subject in focus
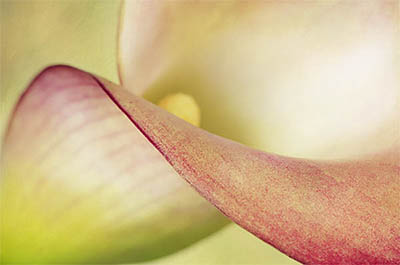
- Macro photography with only a tiny slice in focus
|
MID APERTURE FOR BROAD DOF - f 8.0 - f 11 |
LARGE APERTURE FOR SHALLOW DOF -f 2.0 |
SMALL APERTURE TO WIDEN DOF - f 16 - f 32 |
|
The closer you get to your subject, the less DOF you can achieve. Maximum DOF is still very thin in a macro image. |
These examples of aperture size are very general and lenses are different. Each has a specific upper and lower aperture value. ... Get to know your lens!
Shutter speed - If motion is more important
Here are some examples.
- Sports
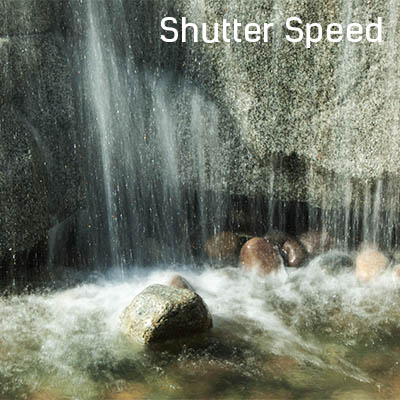
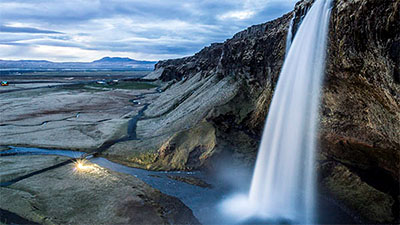
- Flowing water (rivers, waves, waterfalls)
- Children or pets playing
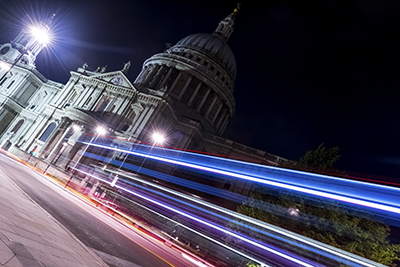
- Street photography with people walking and chatting
Decide whether you need a fast or slow shutter speed for the image you want with this table. These are only a few examples and there are many more I haven't touched on.
|
FAST SHUTTER SPEED |
MID SHUTTER SPEEDS |
SLOW SHUTTER *** |
|
FAST MOTION  |
SLOWER MOTION 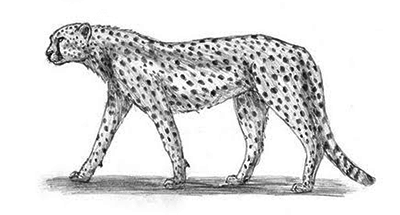 |
NO MOTION  |
|
NO MOTION |
NIGHT | |
|
SLOWING MOTION *** USE A TRIPOD |
How to use the 3 semi auto digital camera modes
... Program, shutter priority and Aperture Priority
Aperture Priority
To choose Aperture Priority, check your digital camera modes dial. You'll find AV (used by Canon) or A (used by Nikon). Select aperture priority mode, and dial in the aperture you want by rotating your main dial. You may need your camera manual to find out how to set the aperture on your camera. |
|
Once you've dialed in your aperture, it's set. Your camera will change shutter speed for you to keep a correct exposure. |
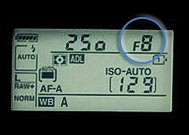 DSLR LCD showing aperture, shutter speed and more. DSLR LCD showing aperture, shutter speed and more. |
Depth of Field Preview Button...
Does your camera have one? If it does, it's a handy tool for many reasons, but right now I'm only asking you to use it to check your DOF before your take your picture.
Mine is on the front of my camera body, right beside the lens. Use your manual to see if you have one. When you press it, the image in the viewfinder will go darker... don't worry, using it cuts down the amount of light coming through the lens. It doesn't reflect the exposure for your image. But it does show you what the depth of focus will look like in your image.
When you're starting out, experiment.
- Choose aperture priority from your digital camera modes.
- Shoot the same scene using several different f-stops. Start with your aperture wide open, then a middle aperture, and finally, the smallest.
- Keep ISO the same.
- Do this for several scenes - landscapes that may cover many miles, portraits where you're much closer to the subject than in a landscape, then get a close up of a small toy.
- Put the images on your computer and see how the various f-stops affect the background... and the subject.
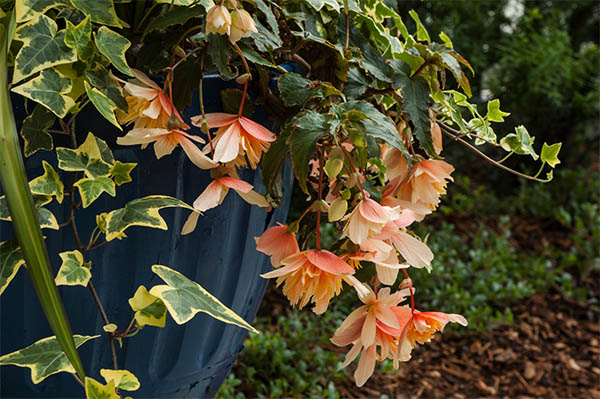
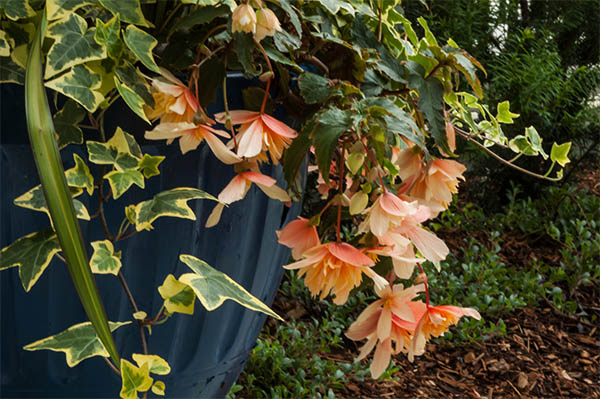
Here's a scene from one of my experiments ...
Shutter priority
Shutter speed dictates how movement will appear in your photograph. If you choose shutter priority from your digital camera modes (S on Nikon or TV on Canon) then your camera will assume control of aperture.
If you choose a very fast shutter speed, say 1/2000th, you can freeze the wings of a hummingbird at the feeder. That's a super fast shutter speed so the light that reaches the sensor is limited. The camera will compensate by increasing the size of the aperture.
That has an impact on depth of field. A large aperture is going to decrease DOF. Will that give you the image you want? How much of your hummingbird scene do you want in focus?
Pretend just for now that how fast we turn these taps on and off is shutter speed. The water coming through is light. The faster the shutter opens and closes, the less light gets through. As the tap stays open longer, more 'light' is allowed to pass through.
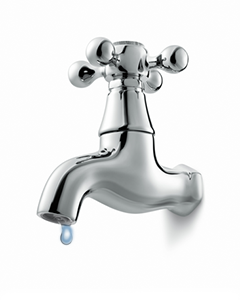 A very fast shutter speed like 1/1000 lets only a tiny drop of light through. A very fast shutter speed like 1/1000 lets only a tiny drop of light through. |
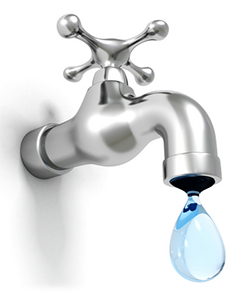 An intermediate shutter speed like 1/125 allows more light through. An intermediate shutter speed like 1/125 allows more light through. |
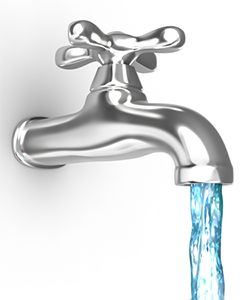 A very slow shutter speed like 1" allows lots of light through to the sensor. A very slow shutter speed like 1" allows lots of light through to the sensor. |
Hummingbirds are difficult subjects for so many reasons, but you get the point. Correct exposure always has trade-offs. You may have to opt for blurring the wings (slower shutter speed) to get a wider DOF. Blurring a fast moving object is an effective way of illustrating speed...
Since you control ISO in your semi-auto digital camera modes, you could increase it to 400 or 800. If it's a bright day, you might be able to use 1/2000 and get more DOF.
Experiment and get your best shot!
|
You might choose shutter priority when you're in a cafe photographing people chatting and having coffee. Of the 3 digital camera modes, the best is shutter priority. You want to freeze movement so, set the shutter speed at 1/250 which stops slow action. If there are lovely large windows that let in lots of natural light and it's a bright day, your camera might give you f 8. |
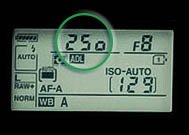 Camera LCD showing shutter speed, aperture and more. Camera LCD showing shutter speed, aperture and more. |
That would work well to focus both the people chatting over coffee and the environment of the cafe.
Program mode
Program is the 3rd of the semi automatic digital camera modes. It's not used, or fully understood, by many people. It can be useful and here's why....
In Program Mode, you can set ISO so you might want to call it ISO Priority! If you want to photograph late evening in low light, set a high ISO. (That will prevent your flash popping up and ruining your image.) Then, your camera will choose the aperture and shutter speed.
But, if you don't like the aperture or shutter speed your camera chooses, you can jump in and make a change. Since a photo's worth 1000 words....
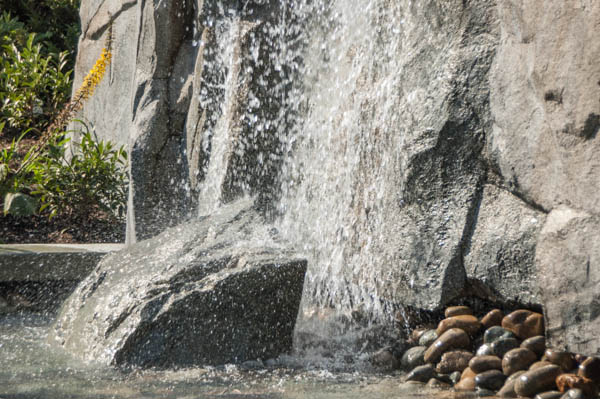
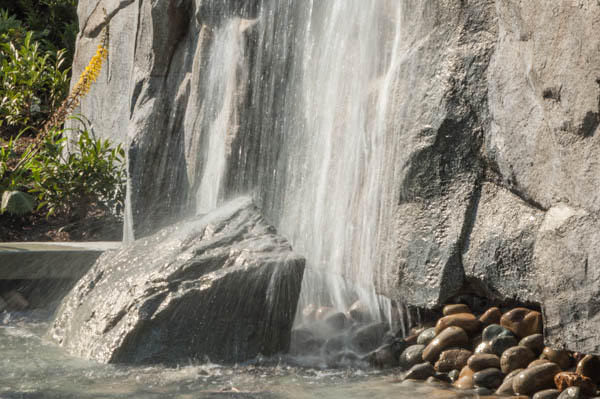
Waterfalls are super for playing with shutter speed. It was a bright, sunny day so I set ISO to 200. The camera decided to use f 5.6 and a shutter speed of 1/250. I don't like the result because the water isn't quite sharp... it's a ho-hum picture. So, I took more control and got a very different result... yes, much better.
I like the silky water look for waterfalls and that means I need a much slower shutter speed. I dialed in a shutter speed of 1/15 and the camera chose an aperture of f 32.
What about a situation where you want to take a portrait of your friend. You want the background to be blurry so that all the distractions in the background are blurred out. Your camera decided that a small aperture was good but you know it's not! And hey... you're the boss. You get to change the aperture and the camera can adjust the shutter speed for the exposure you need.
One more of the digital camera modes helping you improve your photography game!
Wrapping it up
Here's a visual to show you the path from Full Auto to Manual and where the 3 auto camera modes fall on that continuum. You've come a long way! In fact, you're halfway to taking on Full Manual.
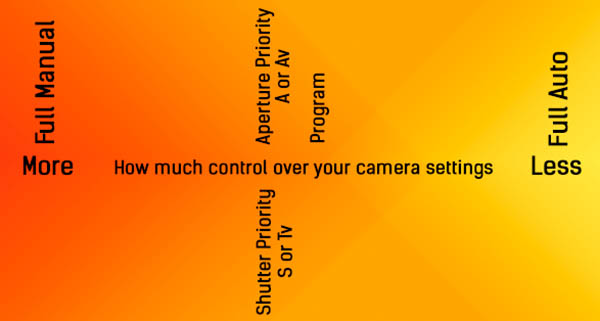
You've come this far. You're more than ready to venture into your digital camera modes and your photography will improve tenfold.
The first and very simple, important question to ask yourself to decide if you'll choose Aperture Preferred or Shutter Preferred is...
- "Is my subject moving" Shutter Priority, or
- "Is my subject still?" - Aperture Priority
Only after that will you choose, which shutter speed or aperture to get you the image you want. And, you can, but aren't required to set a different ISO and/or white balance, and turn your flash off.
In Auto, you can't choose any of those!
Now, all you have to do is practice using all your digital camera modes! Once you're comfortable with the semi-auto modes, we'll graduate you into Full Manual.
Flower Photography Home › Exposure › Camera Modes


New! Comments
Please leave me a comment in the box below.I'd love to hear your stories, share your photos and read your comments about this page.